


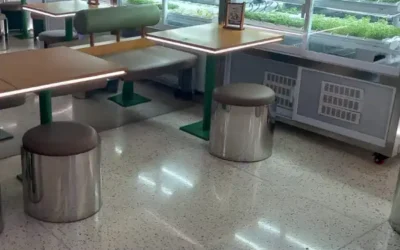
Table of Contents
Creating your own terrazzo flooring is not just an excellent way to elevate the aesthetic appeal of your home, but it’s also an engaging DIY project that can be both cost-effective and immensely satisfying. This comprehensive guide will walk you through the process of crafting a durable and elegant terrazzo floor using the instant cast method, which is quicker and more economical than professional installations.
Essential Terrazzo Mix Preparation
1. Gather Your Materials and Tools
The first step in this exciting DIY project is to assemble all necessary materials and equipment. You will need basic components like cement and small stones—preferably granite or marble. Additionally, a binder such as epoxy resin is essential for creating the **terrazzo mix**. Make sure to have on hand tools like buckets, a cement mixer, and measuring instruments, which will make the process smoother and more efficient.
2. Prepare the Floor Surface
With your materials ready, the next crucial step is preparing the floor surface. It’s important to ensure that the floor is impeccably clean, free from dust, dirt, or oil that could interfere with the adhesion of your **terrazzo concrete**. If there are any imperfections or damages on the floor, make repairs to achieve a smooth and even base for the **terrazzo mix**.
Finalizing Terrazzo Concrete Details
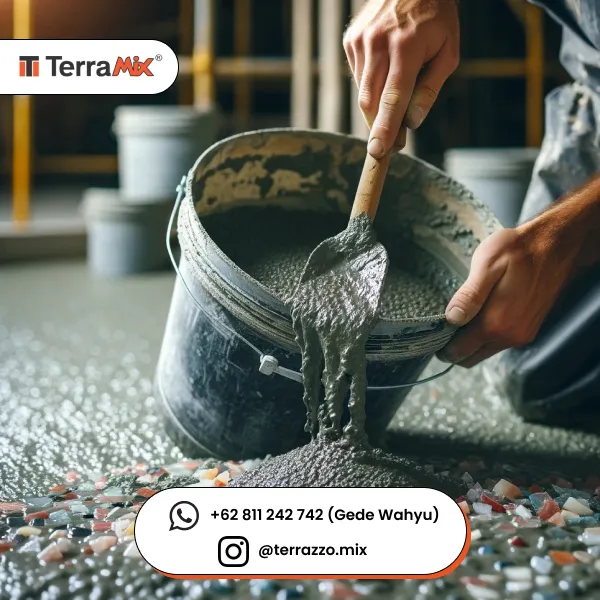
3. Mixing the Terrazzo Components
Once your surface is prepped, mix your **terrazzo materials**. Combine the cement, small stones, and epoxy resin following the precise ratios recommended by the manufacturer. This step is critical to ensure that the mixture is consistent and strong, providing a solid foundation for your new floor.
4. Pouring the Mixture
Carefully pour the **terrazzo mix** over the prepared floor area. Spread it evenly across the surface, using leveling tools to help achieve a uniformly thick layer. This ensures that your floor will not only look great but will be free from uneven spots that could mar the finish.
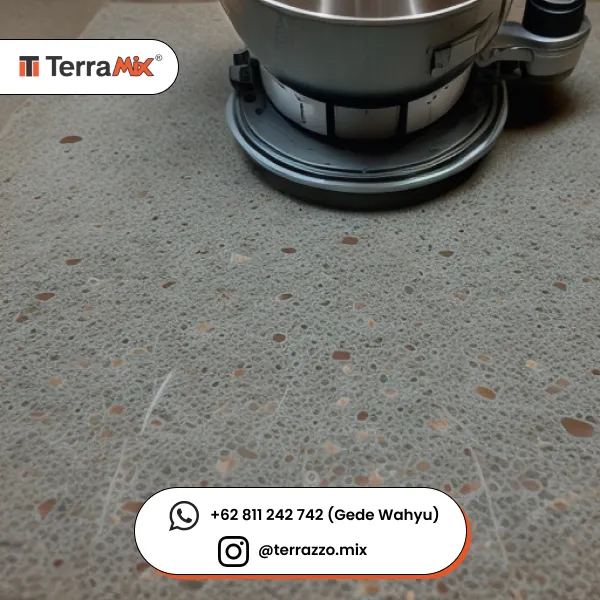
5. Smoothing the Surface
After pouring, quickly smooth and level the **terrazzo concrete** using the appropriate tools. The terrazzo mixture begins to set relatively fast, so it’s important to work swiftly to achieve a perfectly smooth finish. This step is vital for ensuring the aesthetic quality and durability of your flooring.
Perfecting Terrazzo Concrete Details
6. Curing the Terrazzo
Allow the **concrete mix** to dry and harden for several days. The specific curing time will depend on the epoxy resin product used, so follow the recommended period closely. During this time, avoid walking on or placing any objects on the floor to prevent any damage or imperfections from forming.
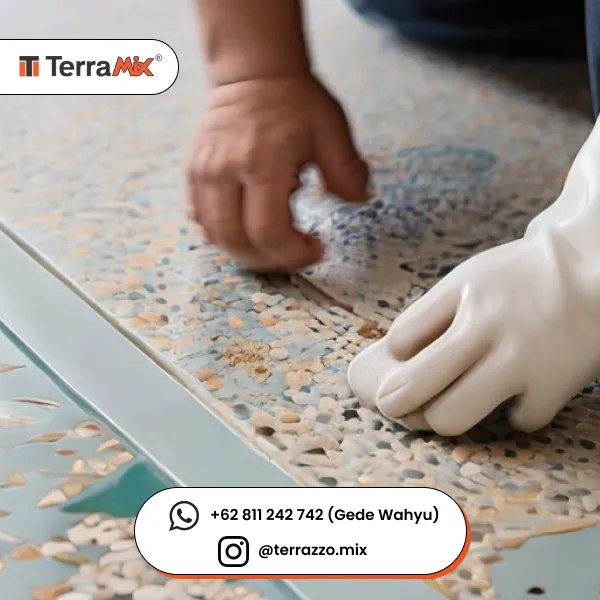
7. Applying the Final Touches
After the **terrazzo mix** has fully cured, proceed with the final steps. Thoroughly clean the surface to remove any remaining dust or debris. Then, apply a sealant or protective coating to enhance the floor’s durability and visual appeal. This not only extends the life of your **terrazzo flooring** but also enhances its resistance to wear and tear.
Celebrate DIY Terrazzo Achievement
By meticulously following these steps, you have the ability to transform an ordinary space into a stunning showcase of your personal style and craftsmanship. Creating your own **terrazzo flooring** is more than just a home improvement project; it’s a personal journey that allows you to express your creativity while adding tangible value to your home. Embrace the challenge and enjoy every step of the process, knowing that the result is a beautiful, durable floor that reflects your vision and effort. Revel in the satisfaction and pride that comes with walking on a beautifully crafted terrazzo floor that you made with your own hands.
Connect with us on WhatsApp at +62 813-9283-8231 (Wicak) or +62 811-242-742 (Gede Wahyu) for inquiries about our terrazzo products that can elevate your space. Alternatively, email us at project@dw-corporation.com if you’re interested in enhancing your current environment.

0 Comments